
Many Scarfs, Shawls and Kerchiefs that are knitted top down and are triangular start with a garter tab cast on.
Which if you are not familiar with can look very complicated, when in fact it is a simple technique that can stand you in good stead for lots of projects.
I’ve been asked by a few uses if I can produce a guide on this method…so here goes…..Here is a step by step guide to mastering the technique.
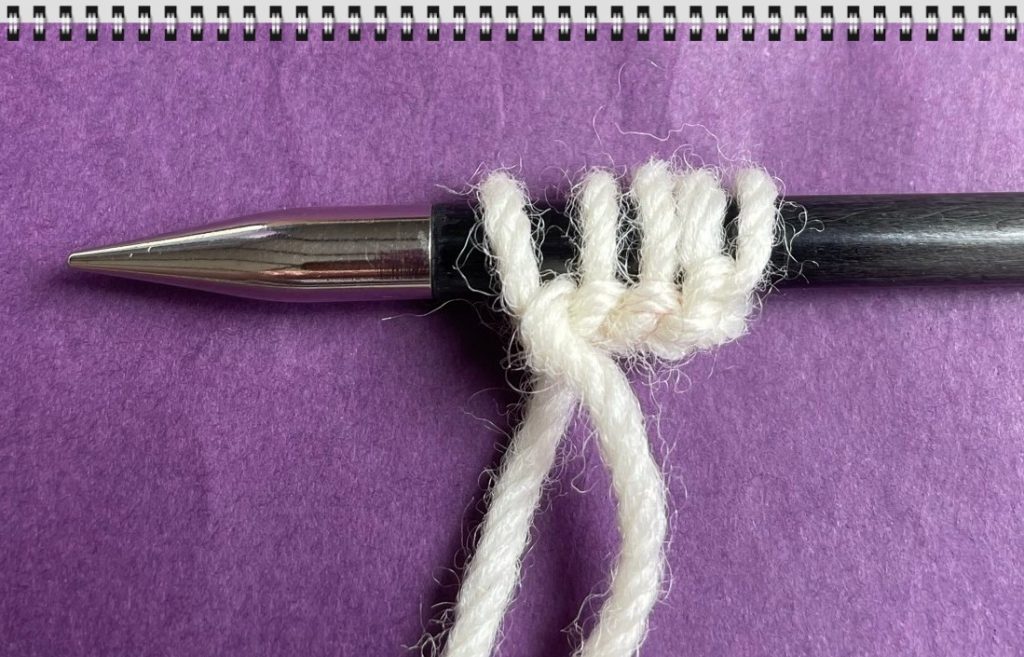
In this example we are going to cast on 5 stitches, many patterns call for 2 or 3 and some up to 20 or 30 dependant on the design, but the principal remains the same.
Take your chosen yarn and needles and cast on 5 stitches…
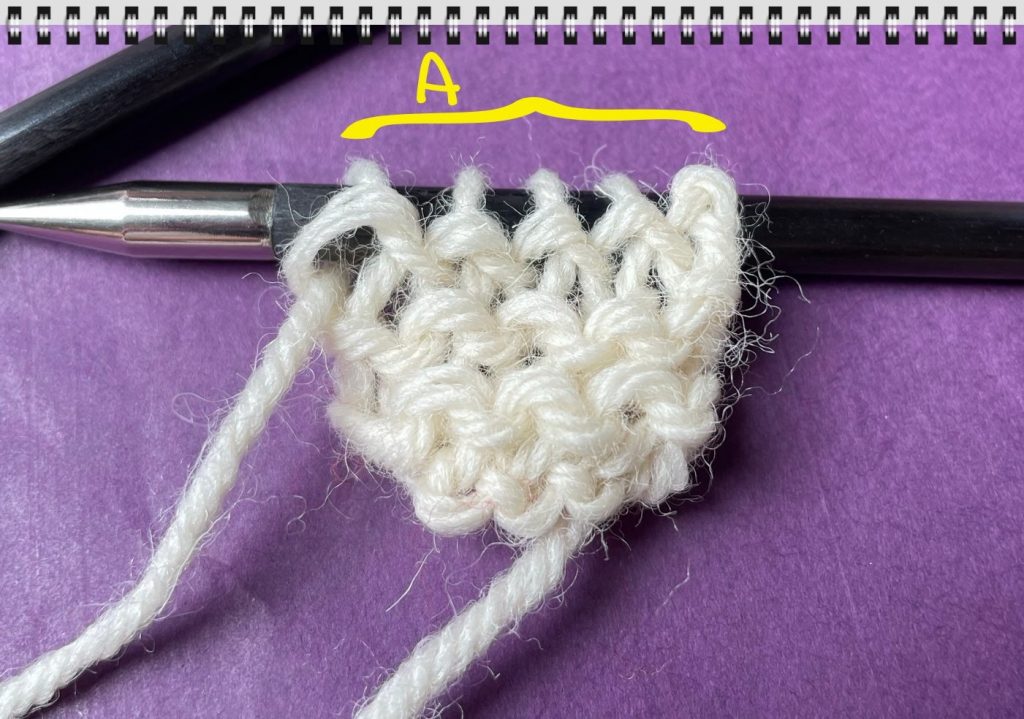
Work 5 rows in garter stitch (knit all stitches on all rows). We are calling the edge these stitches are on ‘A’.
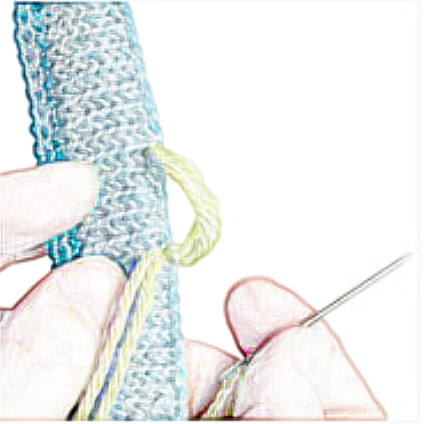
…at the end on your 5th row, place a stitch maker, now you are now going to pick up 5 stitches along the edge ‘B’.
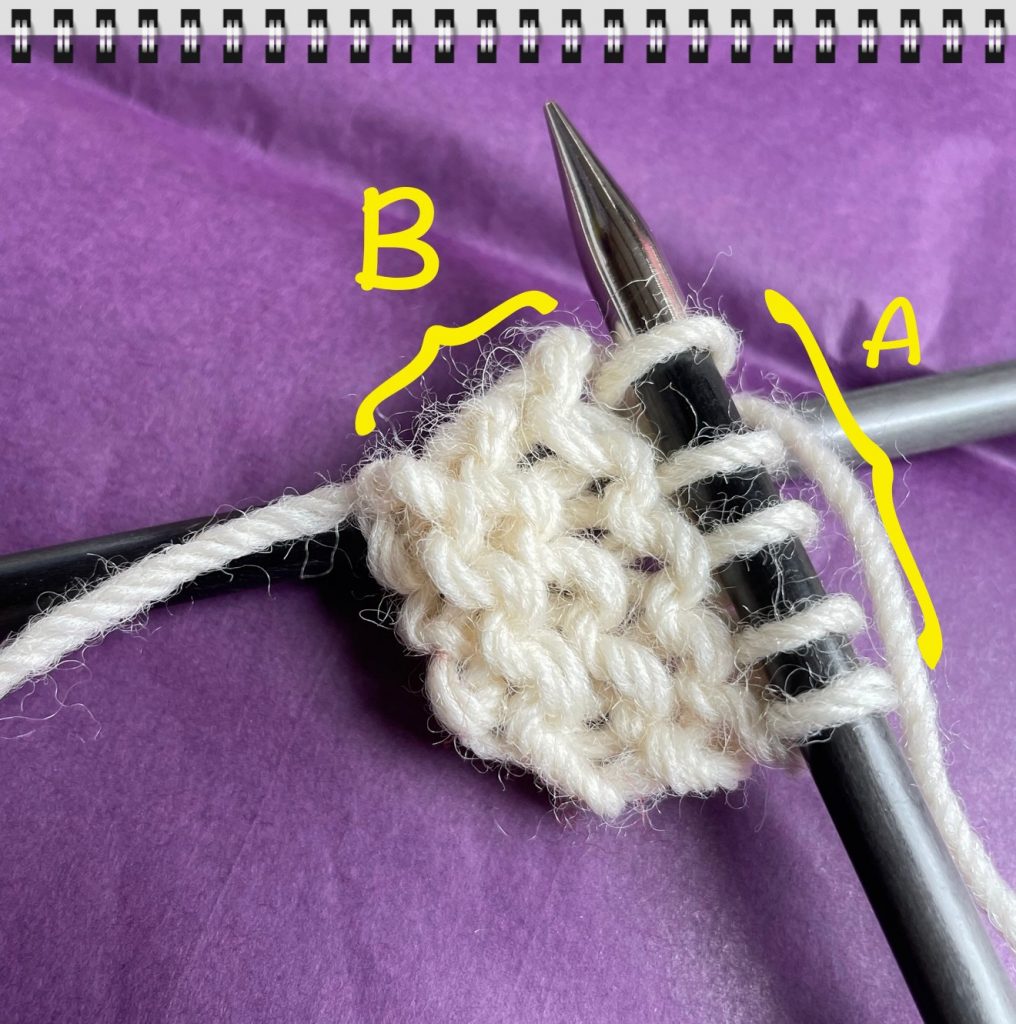

…you now have 10 stitches.
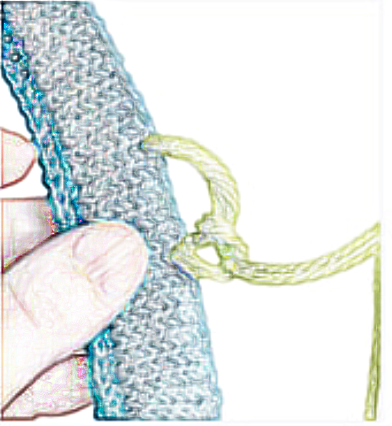
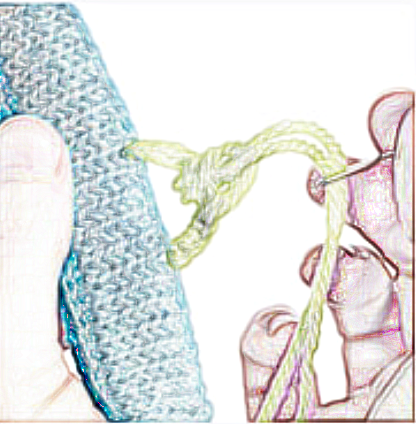
…next place another stitch marker and pick up 5 stitches along edge ‘C’, this is your original cast on edge. this can be a little fiddly if you are using fine yarn.
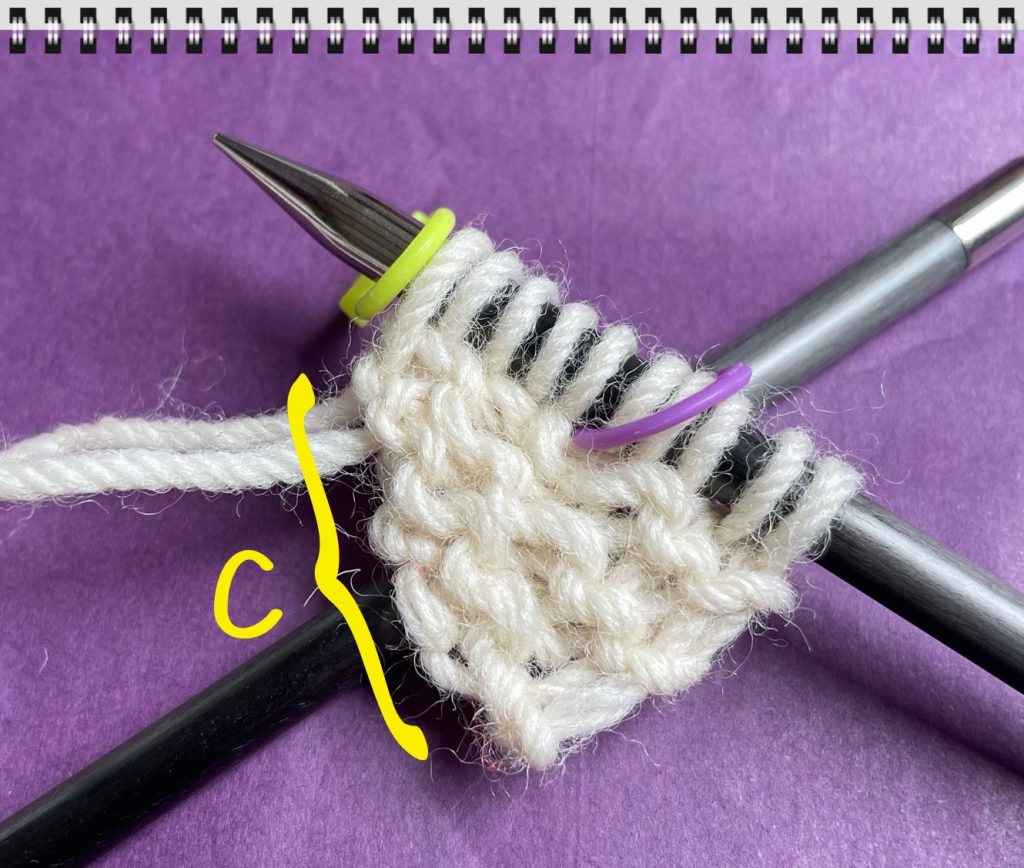
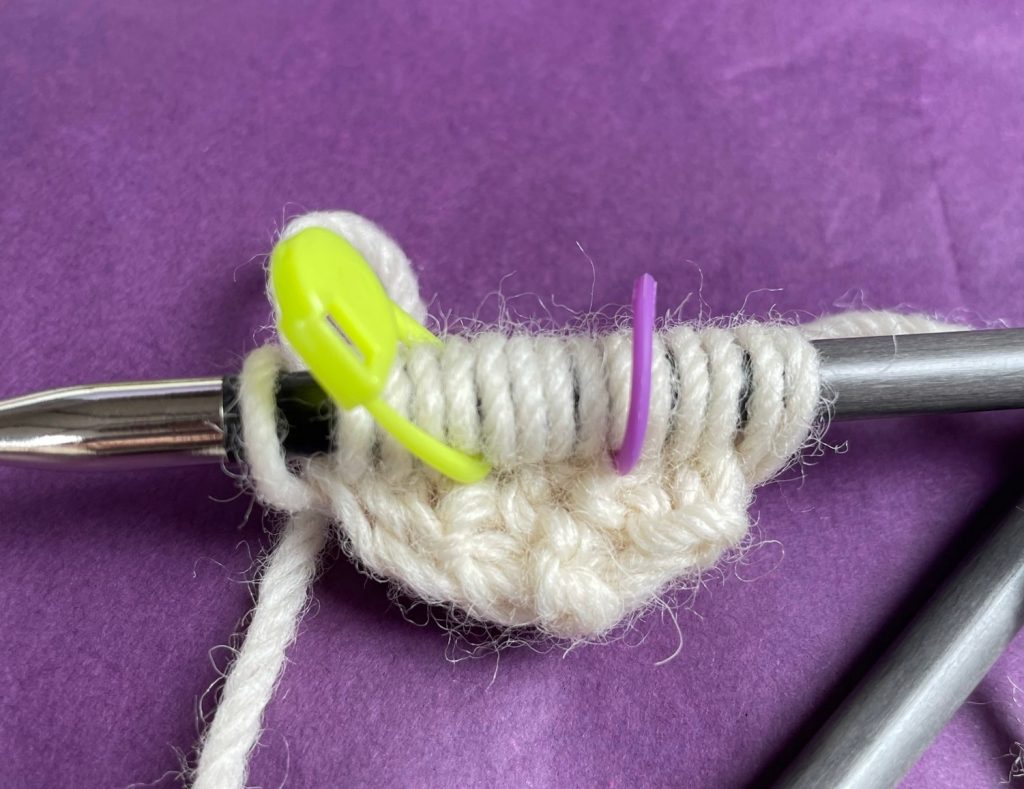
…you now have 15 stitches and will be ready to commence your chosen design.
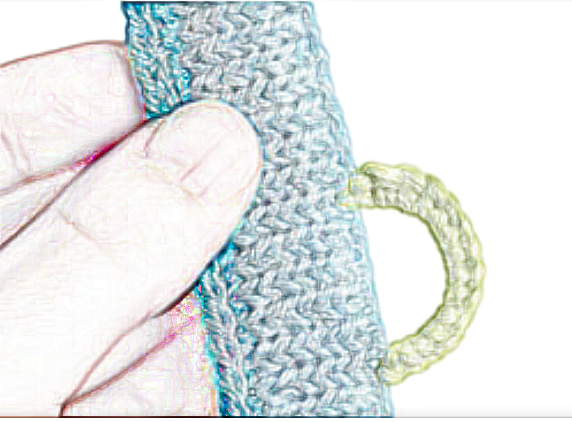
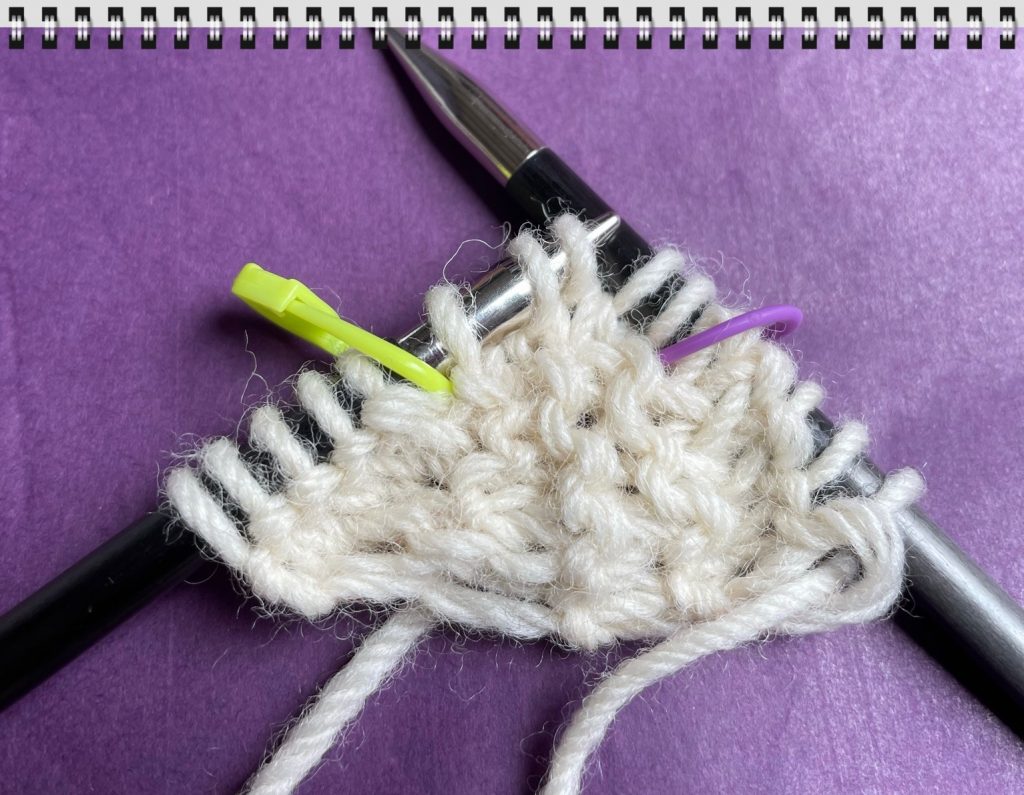
In this picture the stitches are split onto 2 needles, it shows the work you have done creates a small triangle from which to work, this is often called a garter tab.
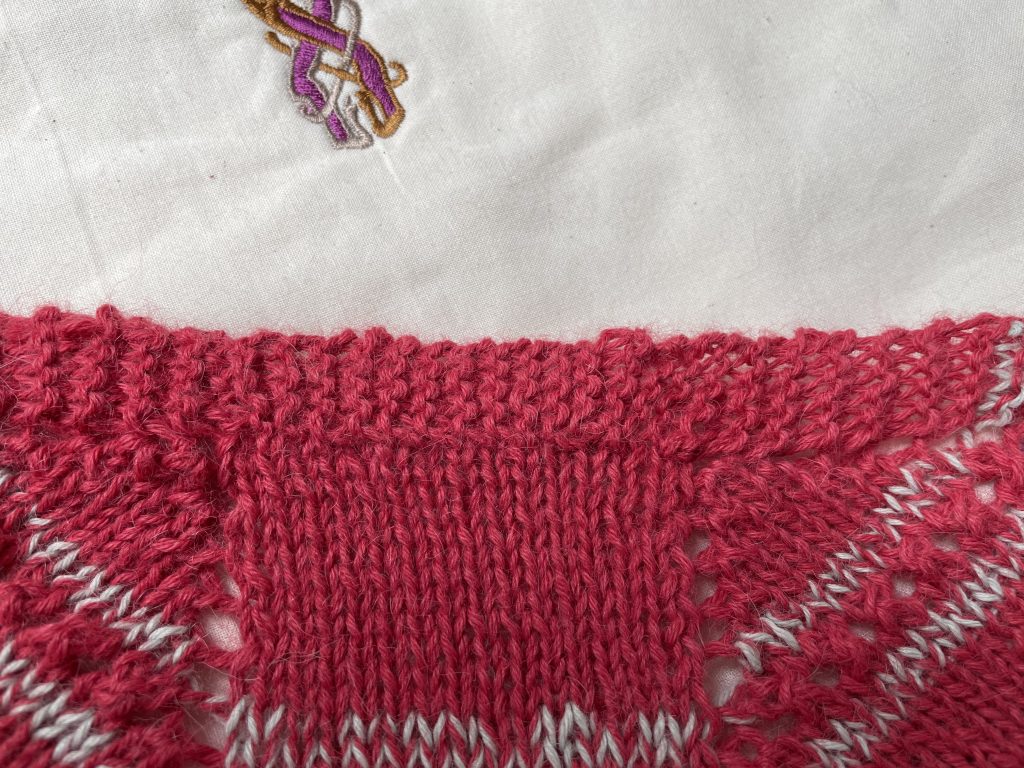
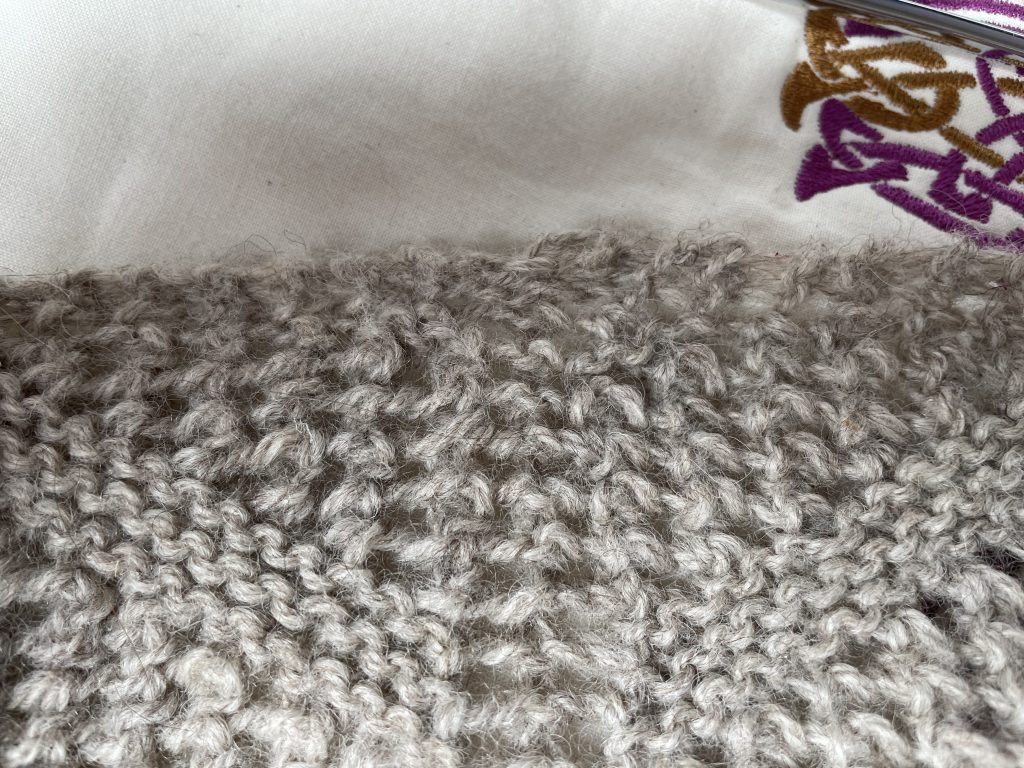
As you can see from the samples above, they both have a garter stitch edges, but the design looks very different as the number of stitches picked up and worked vary.
Many thanks for viewing my update and I look forward to seeing you in Instagram.
Deb (The Dizzy Tyke)