Posted on Leave a comment

How to make button loops….

Knitted buttons loops allow you to easily add to the edge of knitting without interfering with the cast on or off.

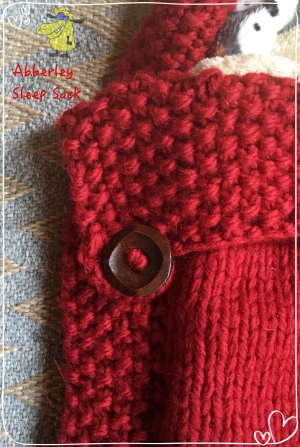
Here at Dizzy Tyke Designs we use them a lot on sleep sacks to stop corners flapping around. Have a look at the Martley, Abberley and Honeybourne sleep sacks

They look great when finished and are not complicated or difficult to make. Have a practice on the edge of an old bit of knitting or even fabric as consistency is the key to a professional finish.

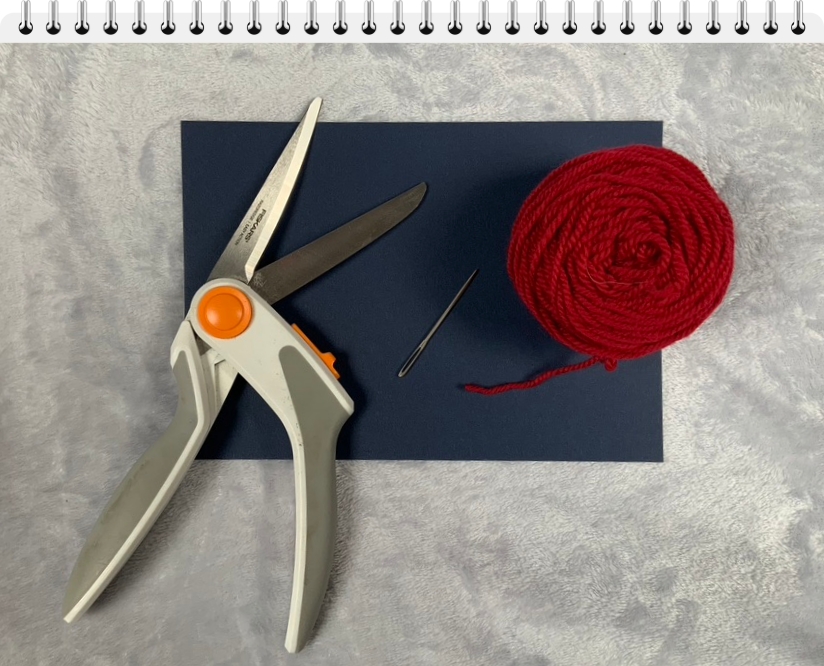
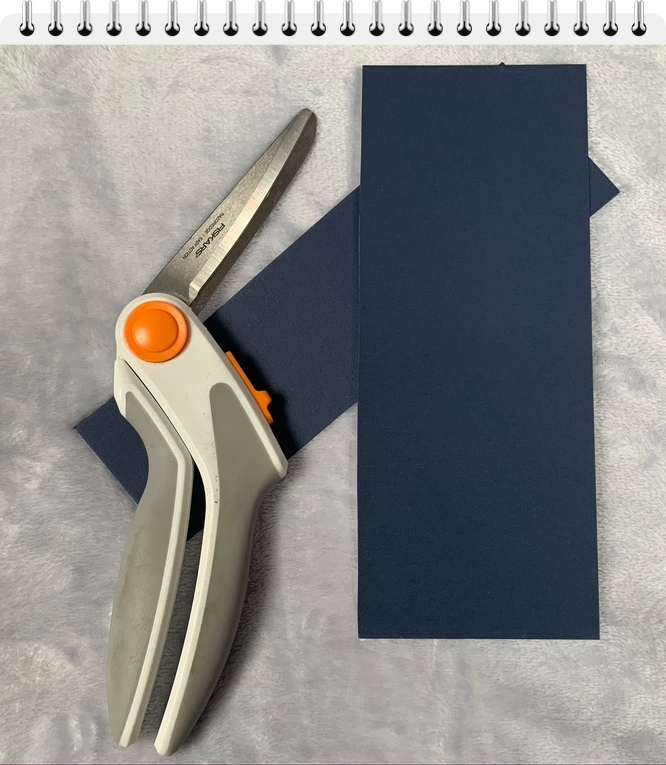
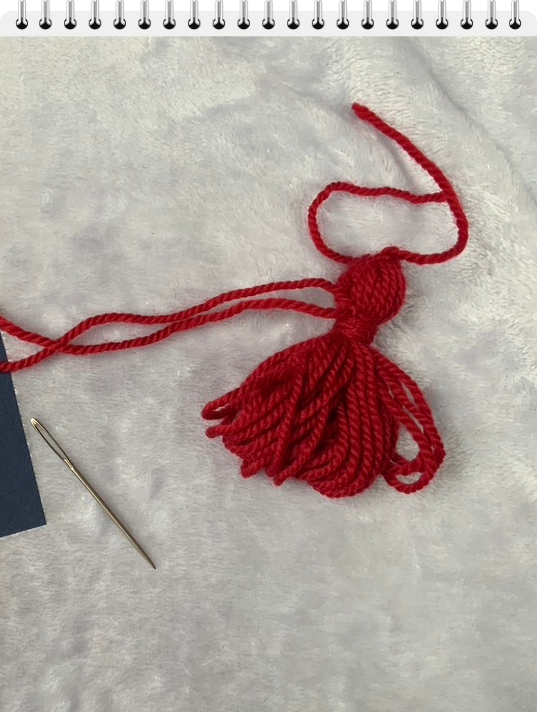
Identify where you want the edges of the loop, then using a tapestry needle attach yarn so there are 2 thickness.

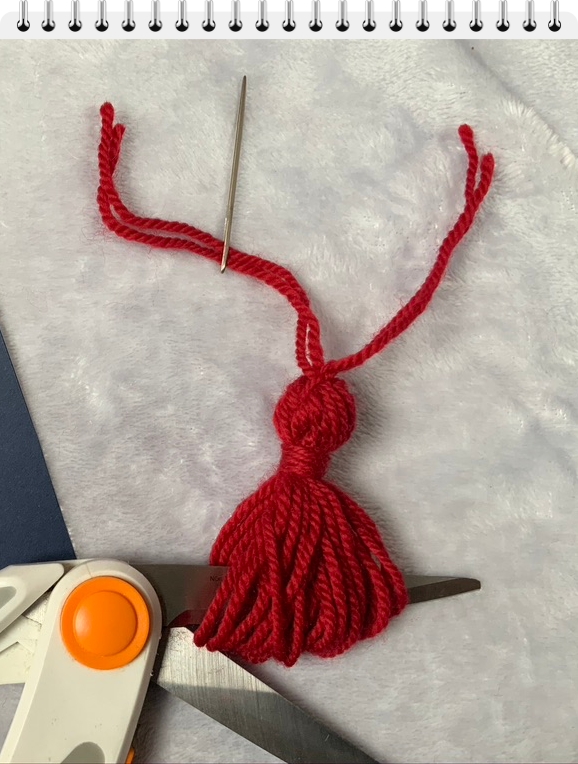
Thread the needle through the work from back to front, where you want the second edge of the loop to be. The long stitch should be slightly bigger than the button diameter.

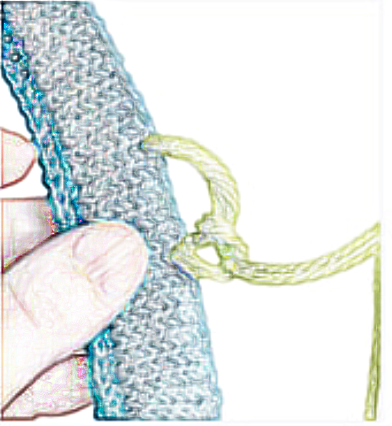
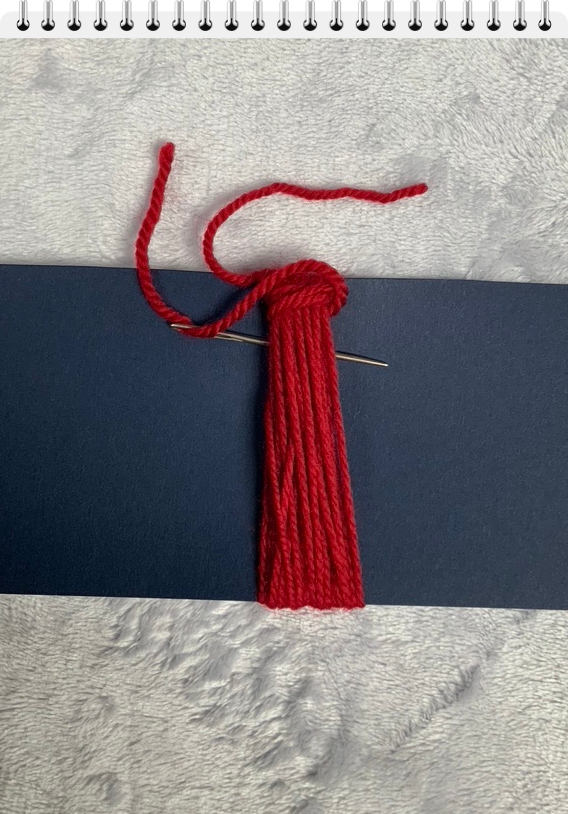
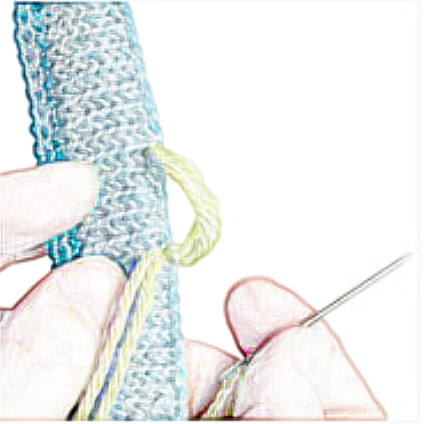
Pass the needle through the long loop from front to back, then pass the needle through the small loop, then pull firmly but not excessively. This creates a stitch around the long loop.

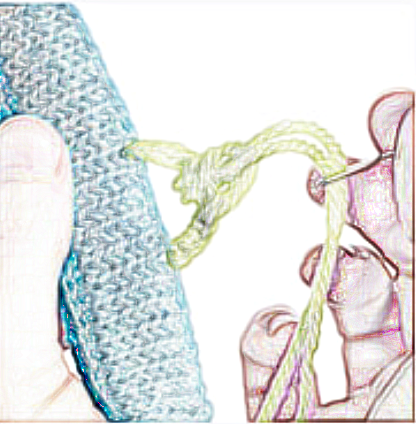
Keep repeating the needle going through the long loop from front to back, then pass the needle through the small loop, until all of the long loop is covered. By keep the firm pull consistent you will get a neat edge. but not excessively. This creates a stitch around the long loop.

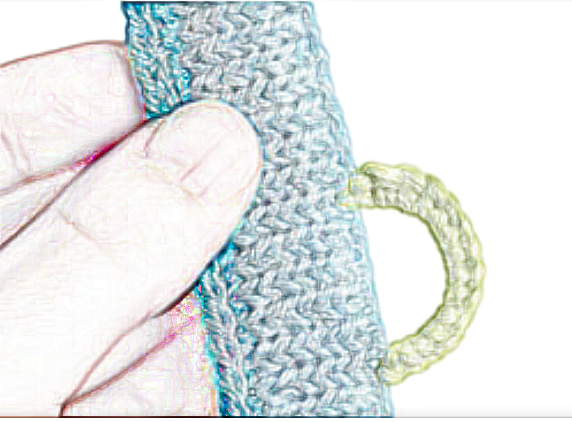
Once the long loop is all covered, pass the thread back through a few stitches to secure and allow the end to be hidden when cut.

Thanks for taking a look at my update and site.

Deb (The Dizzy Tyke)

Posted on 2 Comments

Bespoke Orders

Bespoke orders

Don’t forget here at Dizzy Tyke Designs , I can work with you to come up with personal and imaginative designs for that special gift.
All the cushion designs at Dizzy Tyke Designs are exclusive to my label and shipping is worldwide.

This pair of cushions were a special something for a cycling loving couple. The mirror images cyclists and bikes were colour coded to suit the couples kit.
This bird and flower design with a hint of skull, was commissioned as a gift for an ageing rock chick who now lives in a country cottage.

Both of the above designs will be making an appearance on the for sale page soon, but if you are desperate to get one early drop me a line, using the link at the bottom of the page..

Astley Beret

The Astley Beret is designed to fit a 6 to 12 month old child. Its knitted flat and has no complex stitches.

The tassel creates a fun finishing touch and the instructions on how to make it are below.

How to Create at Tassel

What you need (A) Yarn, Cardboard, Scissors and a darning needle

  1. (B) Cut piece of cardboard template 5” wide, (C) Wrap yarn around cardboard 15  times.
  2. (C)Thread tapestry needle with yarn, pass between yarn and template, tie round yarn snugly. 
  3. (D) Thread tapestry needle with of yarn and wrap around tassel 6–10 times, snugly. Then pass through the center of the tassel and out of the head. 
  4. (E) Remove from cardboard and Cut ends of yarn .
  5. (F) Trim tassel ends evenly if necessary.
  6. Attach to desired location .
A
B
C
D
E
F

What’s coming over the next few months….

  • Christmas decorations start to make an appearance
  • More designer cushions and bespoke ideas
  • More bridge are looking for that special something to show off their rings and make their wedding album a bit different, so a new range of ring cushions will be here before the Autumn.

Don’t forget to join my mailing list for update and offers.

Thanks for taking a look at my update and site.

Deb (The Dizzy Tyke)