As my past and present customers are aware here at Dizzy Tyke Designs, I make all of the cushions covers here in my studio.
Heres a little insight into the processes I undertake to create my exclusive designs and how the cushions covers are produced.
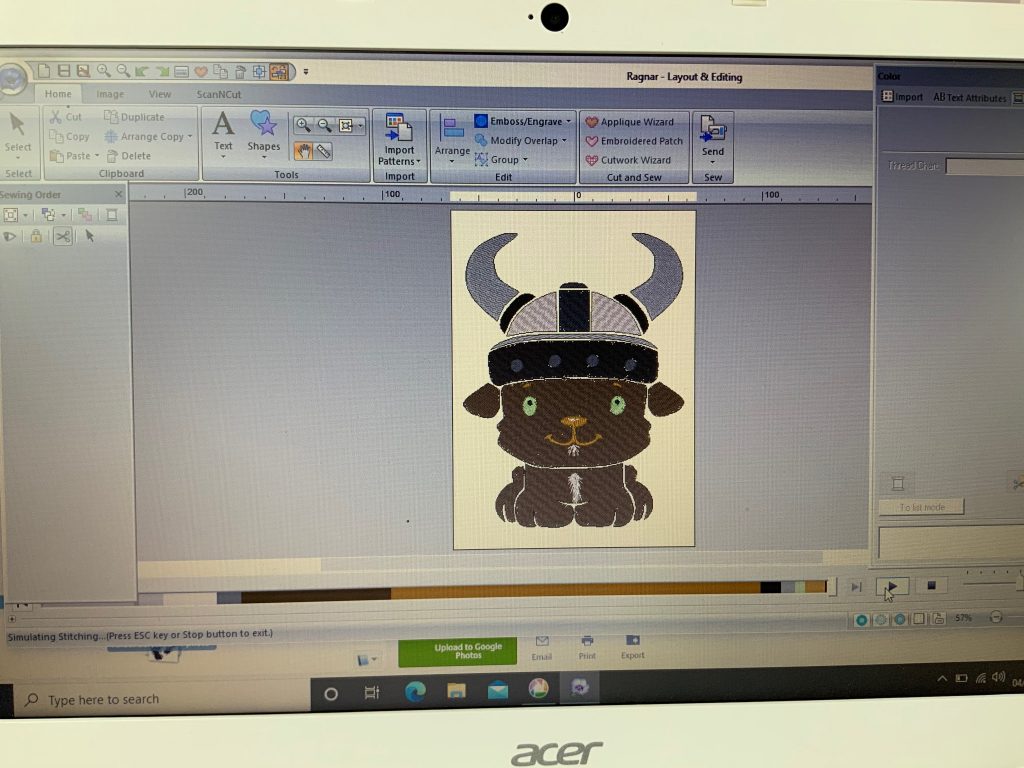
Stage 1 – Create Design Element
Using the BROTHER PE design program I create a design that represents the picture I want to create. Ensuring the pieces are attached in the correct order and stitches give the desired effect. this is then uploaded into the sewing machine ready for sewing.
If you have an idea for a pattern and its not available, drop me a line and if its something quirky for you I can give you costings, if its something I could add to my web site I can always look to absorb the cost for the design element away from the price.
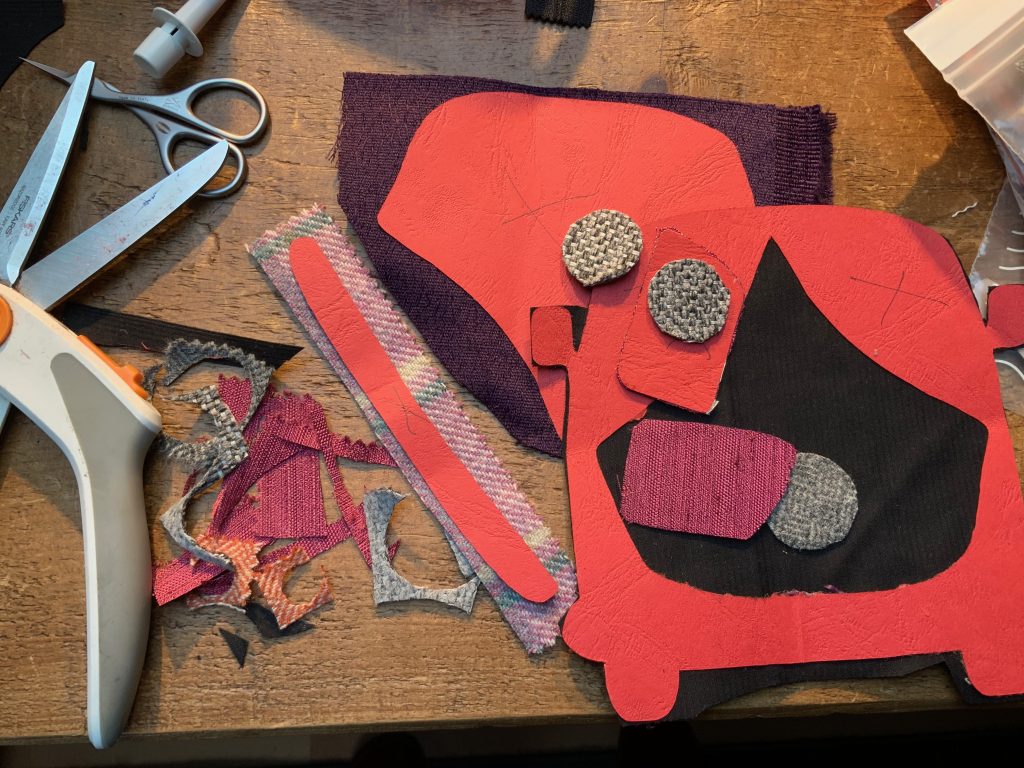
Stage 2 – Fabrics
I try to use repurposed but new fabrics where possible. Many of the cover fronts are excess stock curtains. Whist the backs vary from good quality cotton sheeting, blackout backing curtains and curtain linings.
A lot of the appliqué materials are offcuts from a local upholstery manufacturer.
Creating card templates of each design element allows fabrics to be selected and cut to correct shapes before they are sewn into place.
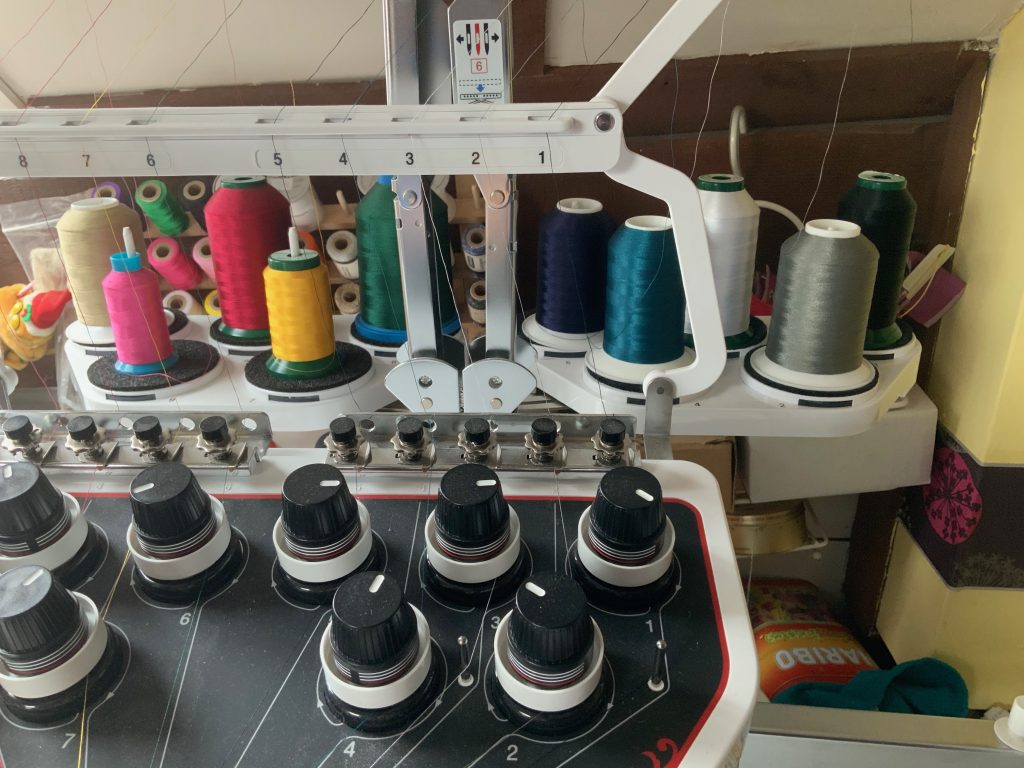
Stage 3 – The Machine
I use a Brother PX1050x machine which hold up to 10 colours at any time.
Once fabrics have been chosen threads come next, whether I’m looking for contrast or harmony I have a wide selection of Kingstar polyester threads to choose from, they are then loaded onto the machines and threaded ready for sewing.
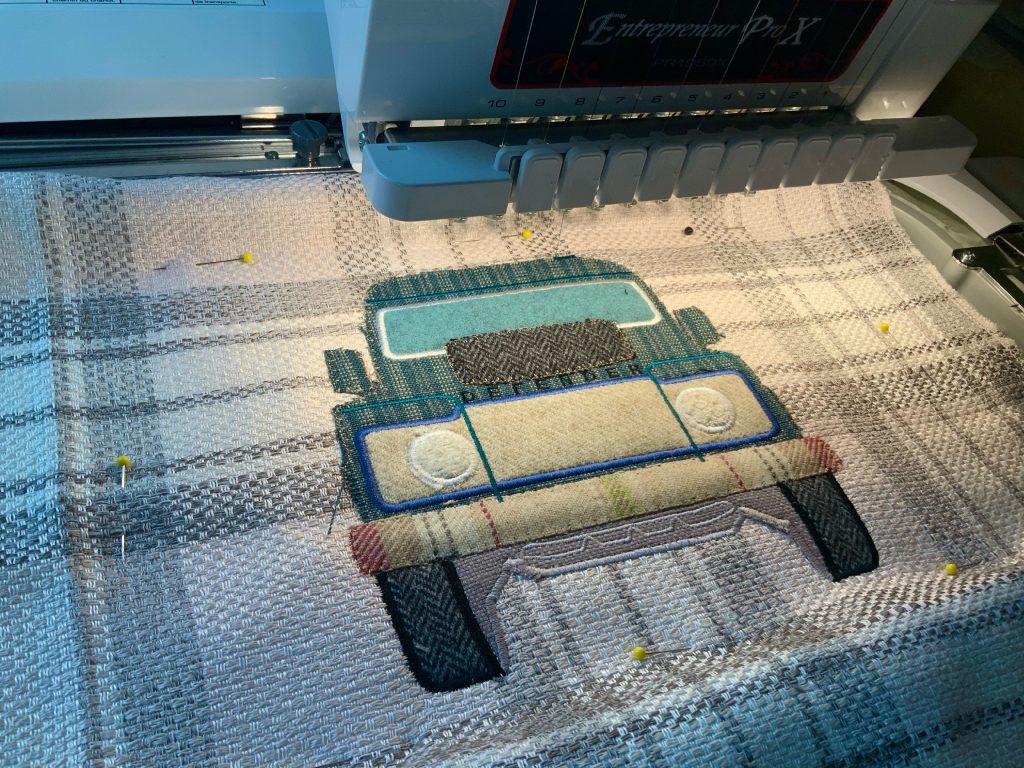
Stage 4 – stitch out design
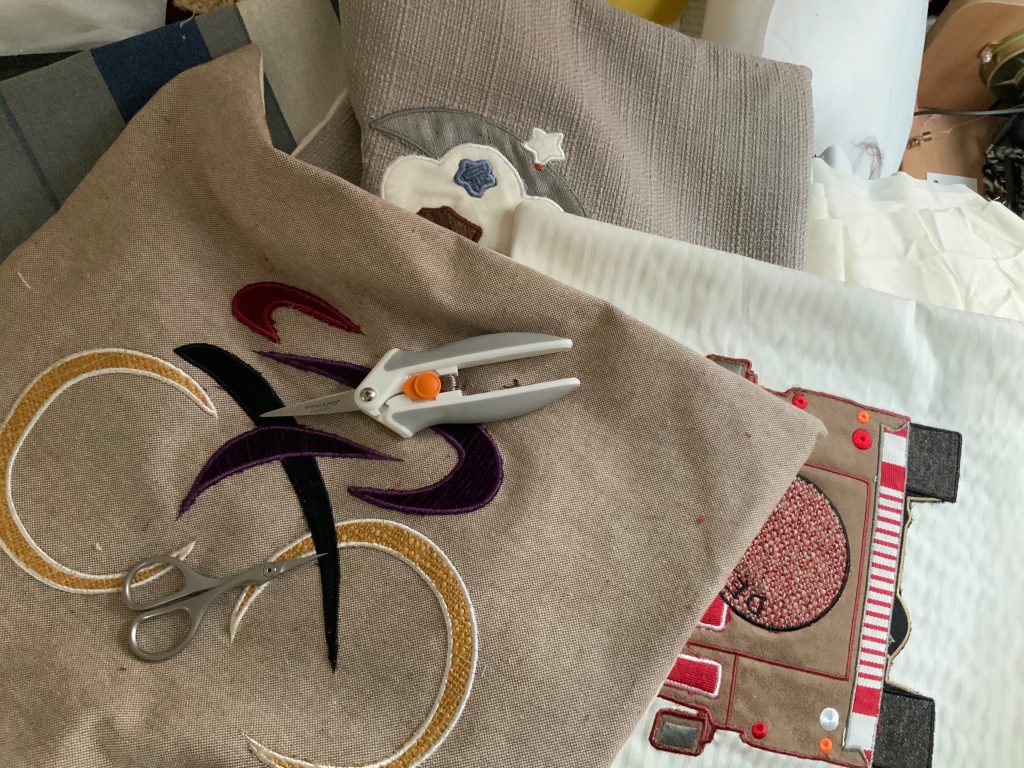
Then starts the process of stitching out the design. Once all the elements are stitched in place. The edges are embroidered in a zigzag stitch to stop edges fraying.

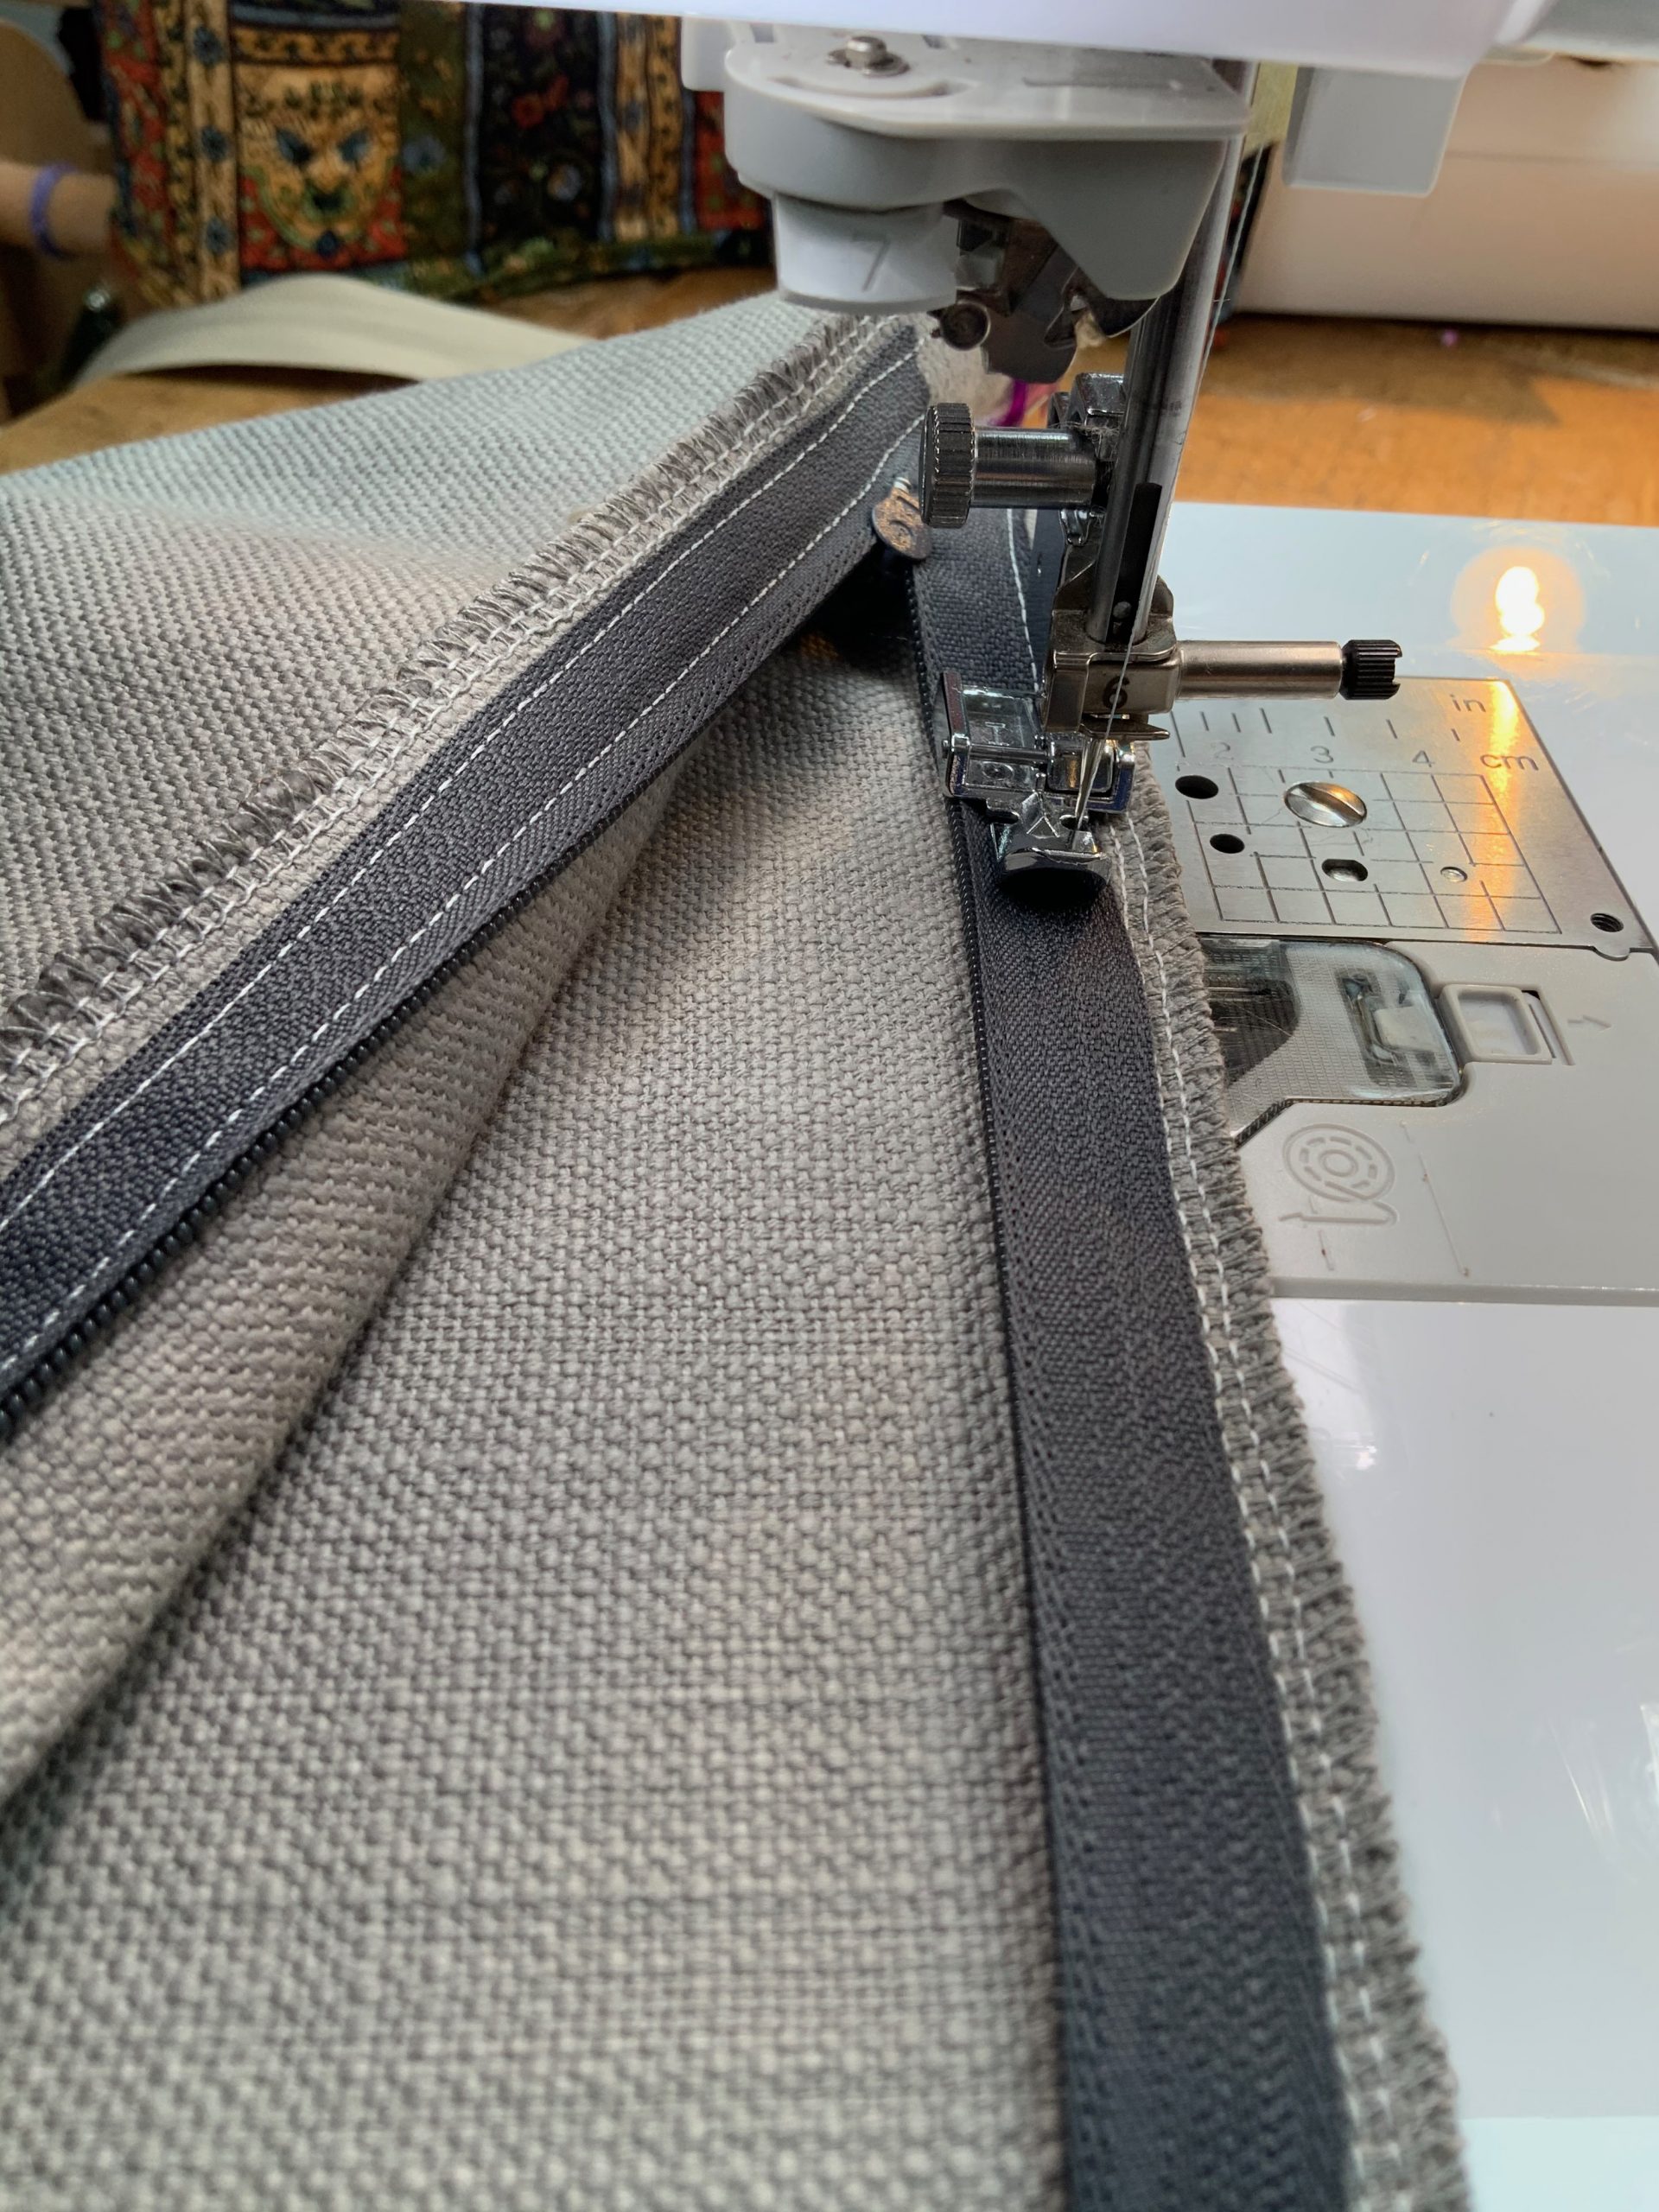
Stage 5 – Create the cushion.
The backs are cut to shape, raw edges overlocked and a zip attached under an overlap to conceal it on the finished cushion. The Zip is typically placed 2/3 inches from the bottom of the cushion on the back.
However, some cushions are created using the envelope style and have buttons forming part of the design on the front.
The back and front are then sewn together and lastly the edges are overlocked to prevent fraying.
Stage8 – Finishing
The covers are then checked over, strands of cotton removed and tidying around appliqué to give clean lines.
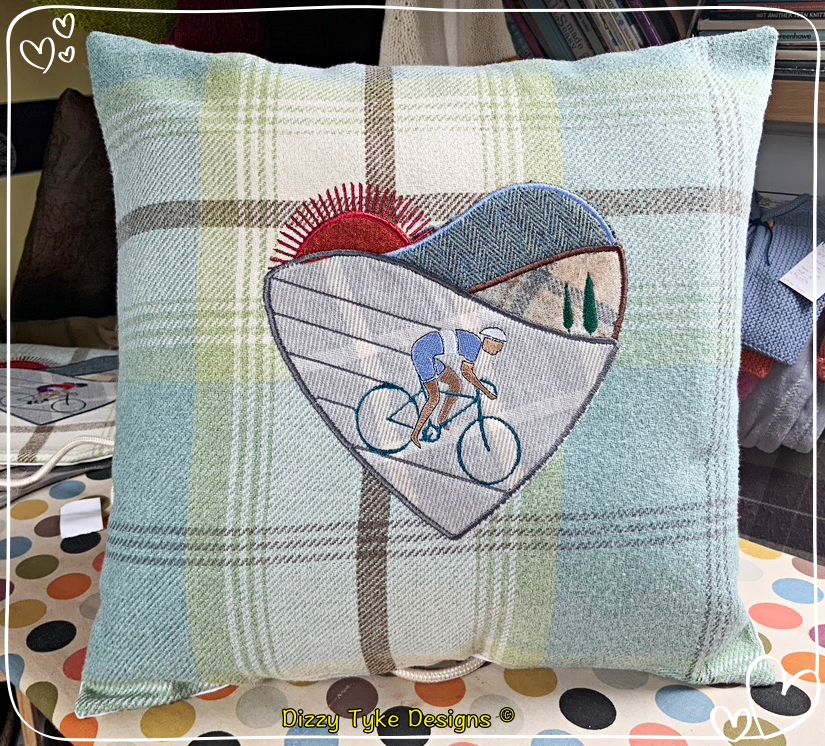
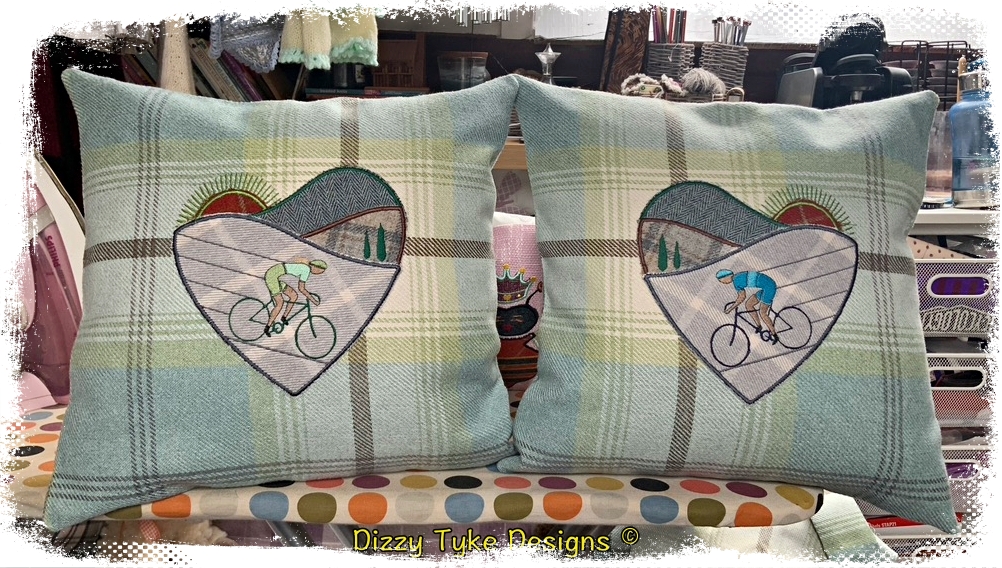
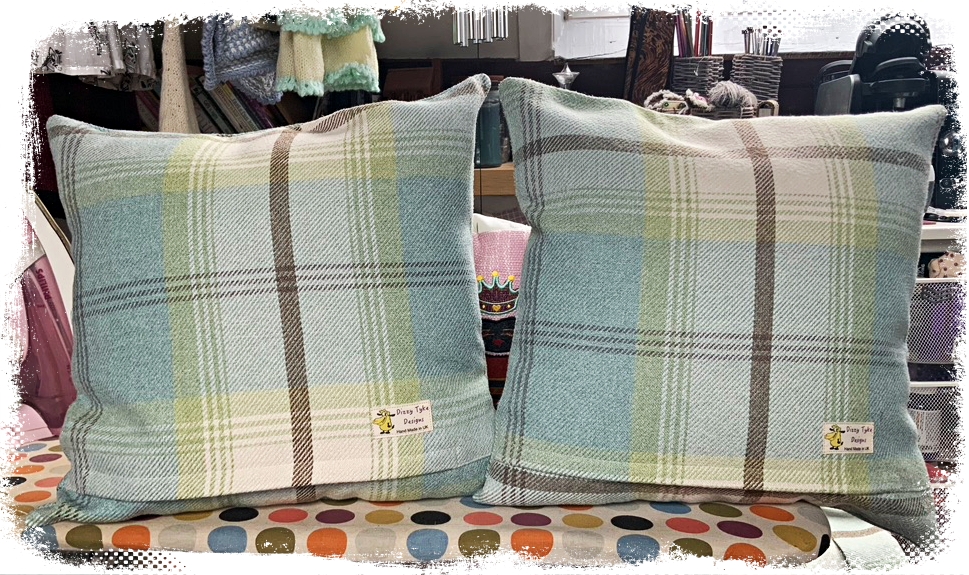
Stage 7 – The Final Product
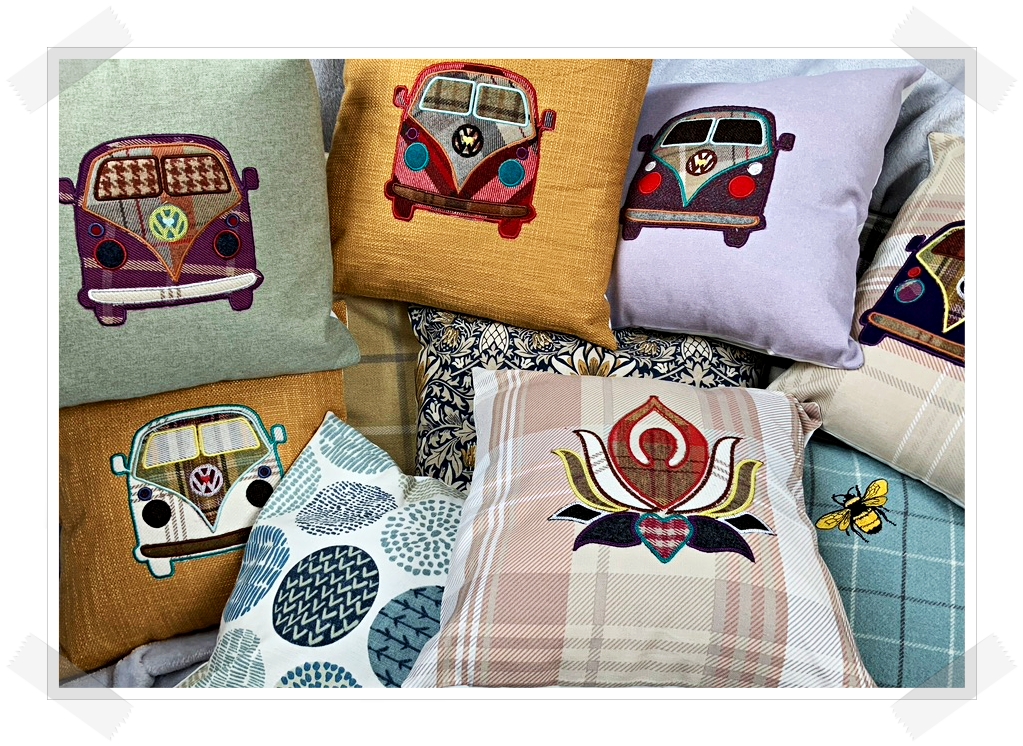
The cushion covers are then pressed, have a temporary filler placed in them for photographing. The filler is then removed and the cover placed in storage until it is sold.
You may wonder why temporary fillers are used. This is because they take a beating putting them in and out of different covers and pummelled into place for the photograph. So keeping a few fillers just for photographs allows every cushion that is dispatched to have a brand new filler placed in it ready for its new home.
All the fillers are solid to me as hypoallergenic, however are I can not guarantee all the fabrics I use are hypoallergenic, so I do not market them as such.
What’s coming over the next few months….
- Summer knitting ideas start to make an appearance
- More designer cushions and bespoke ideas
- With lockdown from Covid-19 starting to relax, people are thinking of getting those special family event caught up on so I’ll be looking at how my products can enhance your special Christening, Wedding, Birthday or family get together.
Don’t forget to follow me in Instagram, Twitter or Facebook, alternativly join my mailing list for update and offers. Use the links at the bottom of the page.
Thanks for taking a look at my update and site.
Deb (The Dizzy Tyke)